SenangUrus DNA - Mobile Device
This is the app version of the SenangUrus DNA system, continue sales even without internet and automatically update data once reconnected. This manual will guide you through the app's key functions to help you manage operations seamlessly on the go.
- Business App Add-on
- Sign-up
- Dashboard
- Sales
- Purchase
- Products
- Stock List
- Customer
- Supplier
- Incomes
- Expenses
- Tax Setting
- Due List
- Subscriptions
- Profit and Loss List
- Payment Type
- Reports
- Settings
- Multi-Branch Add-on
Business App Add-on
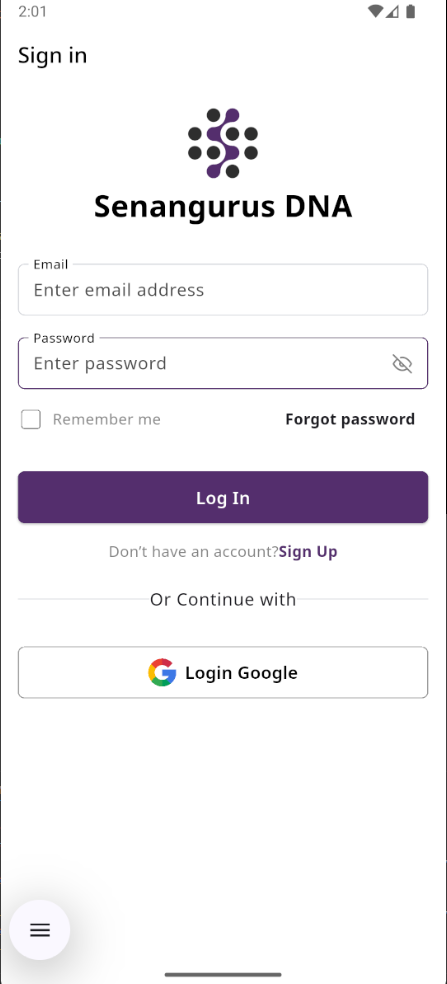
Sign-up
This is the sign-in screen for SenangUrus DNA allows existing users to access their account securely
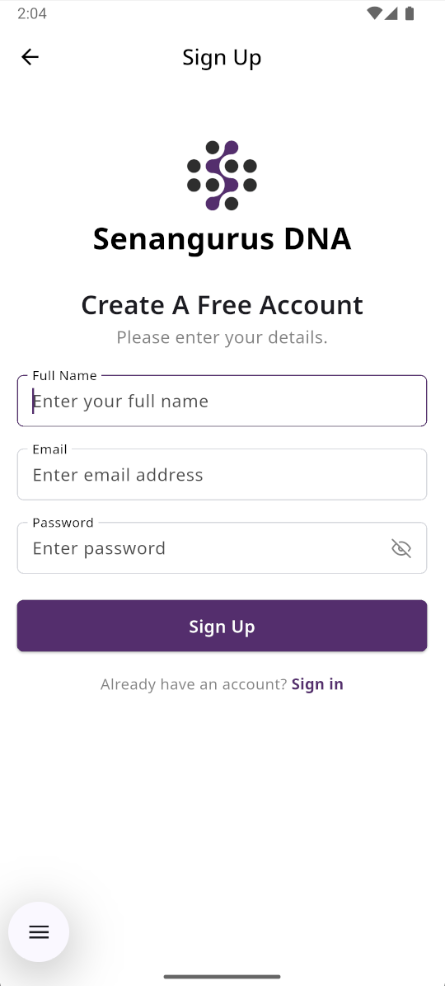
Create Account with email verification
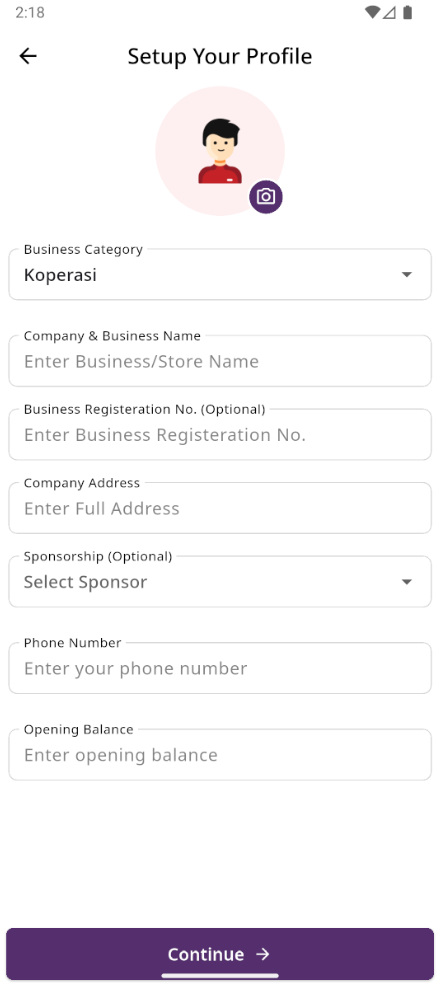
Create an account by entering your email and password, then clicking the Sign Up button. After that, a verification pop-up will appear, and a verification code will be sent to your email. Enter the code to verify your account. Once verified, a new modal will open where you need to provide details such as business name, business category, phone number, and company address.

Dashboard
This is the DNA dashboard page, where key project information is presented.

Sales
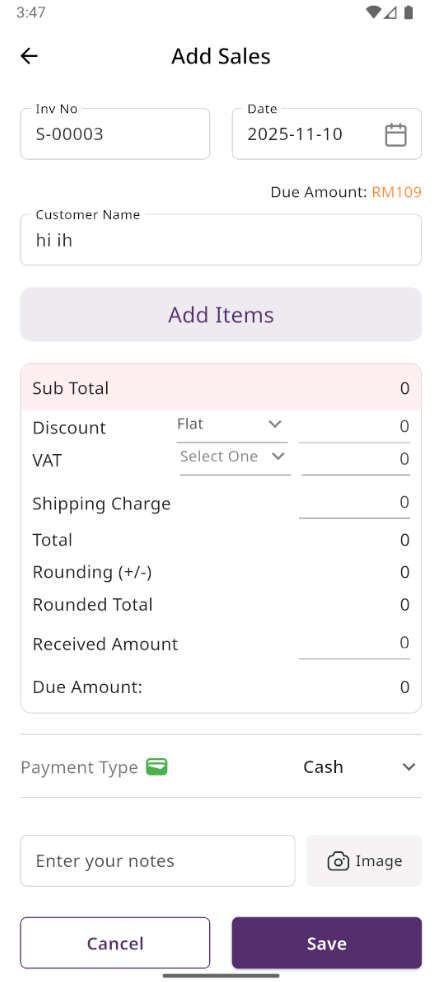
Create Sales
By choosing a customer, you can create a new sale. If you choose "Guest," an optional field is available to provide a phone number. By selecting register customer the product prices displayed on the right will automatically update based on the selected customer's type (Retailer, Wholesaler, or Dealer).
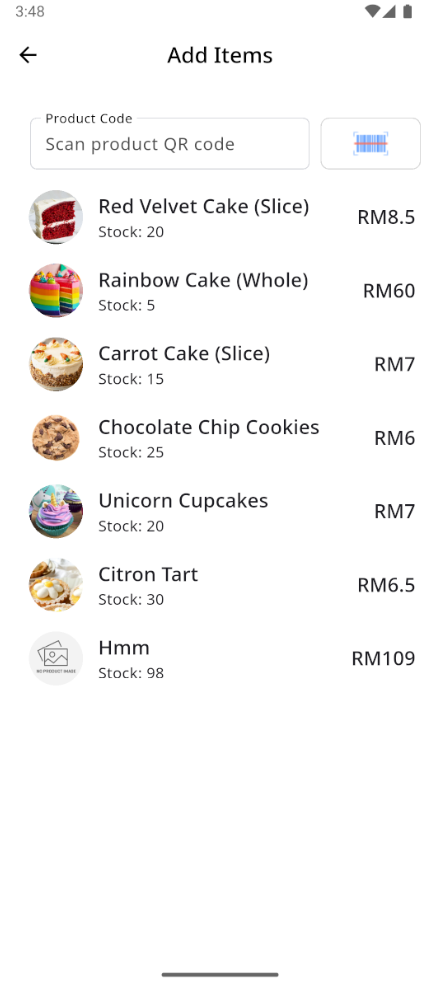
Select Product
Next, you need to select a product for the sale. You have the option to search by product code or QR code.
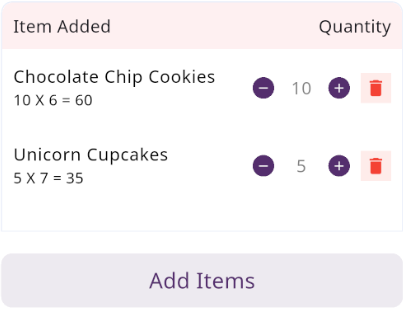
Add to Cart & store product
When you click on a product, it will be automatically added to the cart if this product available in stock. You can adjust the quantity by using the plus or minus buttons, or directly update the quantity by entering a value. To remove a product from the cart, simply click the red trash icon.
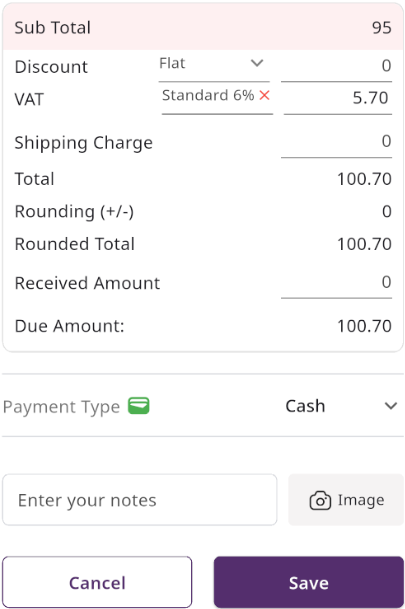
Below, you will see the subtotal of all products. You can also add VAT or a discount to the subtotal. After the calculations, the total amount will be displayed. Next, you can enter the received amount. If the received amount is greater than the total amount, the remaining balance will be shown in the "Change Amount" field. If the received amount is less, the "Due Amount" field will display the difference. If you want to remove all products from the list, click the cancel button. Once everything is correct, click the save button to complete the sale.
Sale List
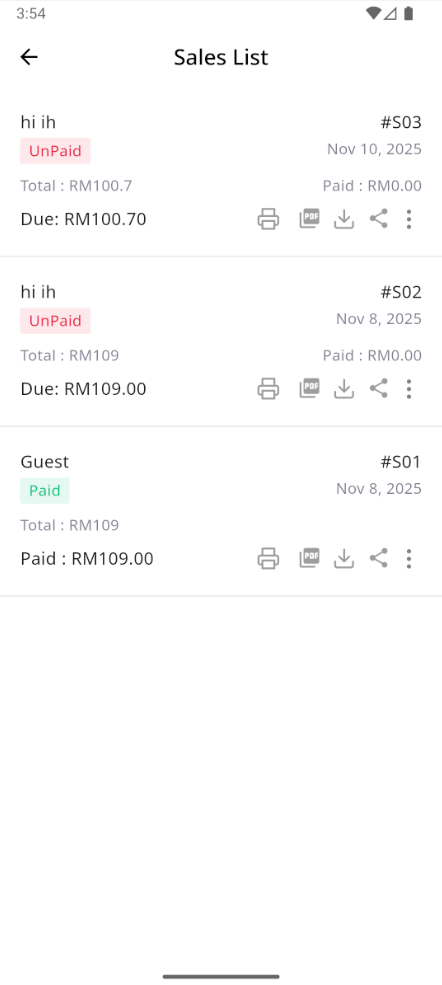
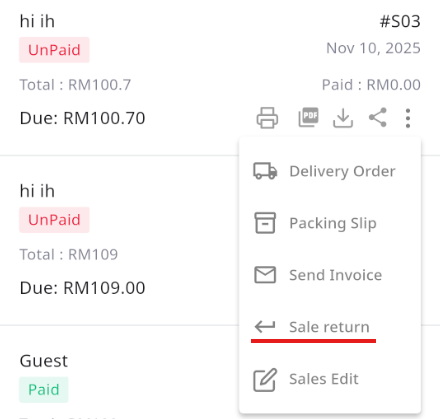
This is the Sale list page, where you can see all sale transaction. Additionally, you can view invoices, as well as edit, delete. Furthermore, you will have the option to initiate a Sale Return from this list. Please note, once a sale return is processed, you will no longer be able to update or delete the sale.
Create Sale Return
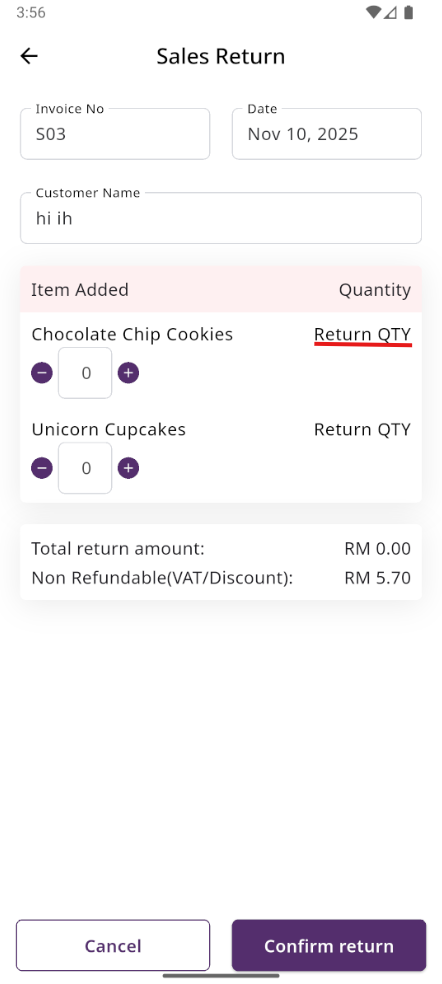
From the Sale list, when you click on Sales Return, this page will appear. By adjusting the quantity, you can return the desired amount. However, you cannot return more than the quantity sold.
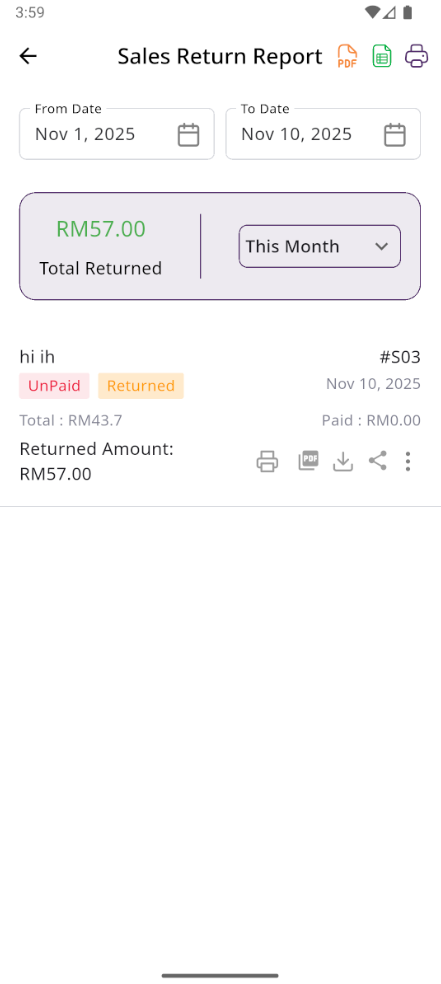
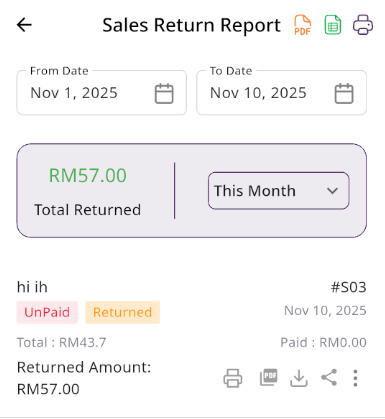
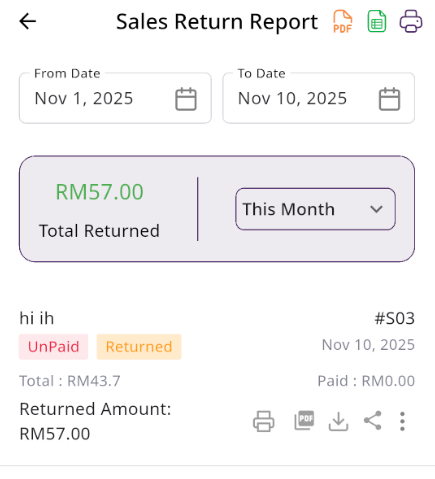
Sale Return List
Here, you can view the complete list of sale returns with a filtering option. To view an invoice, simply click on the invoice No.
Purchase
Create Purchase
By clicking on a supplier you can create a new purchase. Next, choose a product for the purchase.

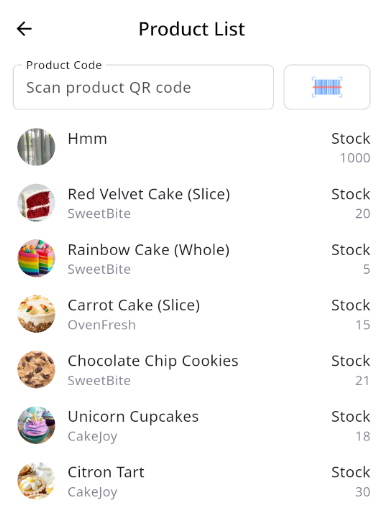
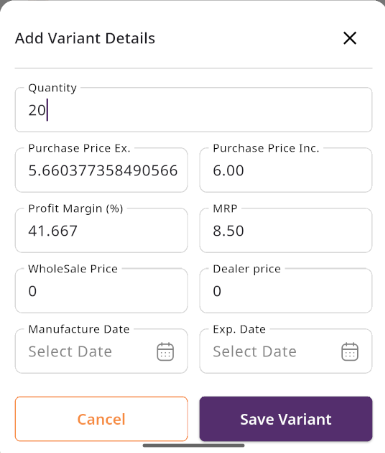
Select Product
Next, select a product for the purchase. When you choose a product. Enter the quantity you wish to purchase and update the prices as needed. Once done, click save.

Add to Cart & store product
After clicking the save button in the pop-up window, the product will automatically appear in the cart list. You can adjust the quantity using the plus or minus buttons or update it directly by entering a value. To remove a product from the cart, click the red trash icon.
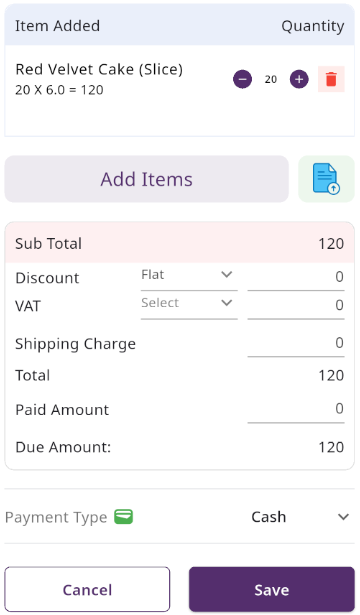
Below, you will see the subtotal of all products. You can also add discount to the subtotal. After the calculations, the total amount will be displayed. Next, you can enter the received amount. If the received amount is greater than the total amount, the remaining balance will be shown in the "Change Amount" field. If the received amount is less, the "Due Amount" field will display the difference. If you want to remove all products from the list, click the cancel button. Once everything is correct, click the save button to complete the purchase.
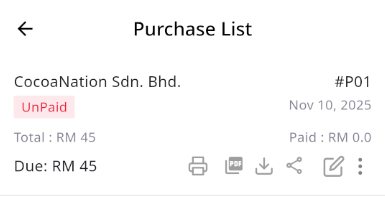
Purchase List
This is the Purchase list page, where all the purchase transaction is collected. Additionally, you can view invoices, as well as edit and delete. Furthermore, you will have the option to initiate a Purchase Return from this list. Please note, once a Purchase return is processed, you will no longer be able to update or delete the Purchase.
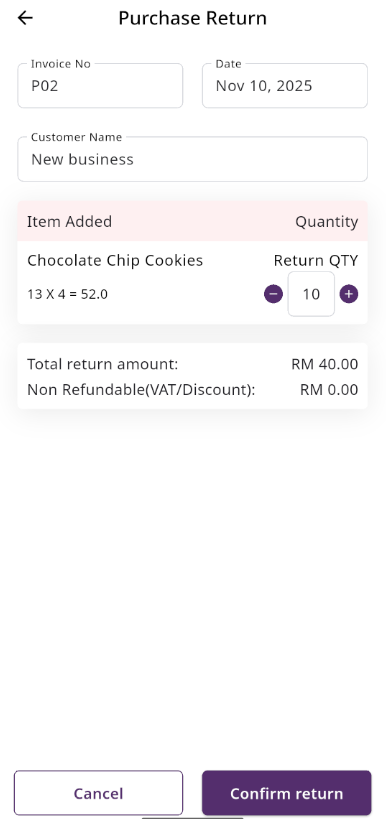
Create Purchase Return
From the Purchase list, clicking on Purchases Return will open this page. You can adjust the quantity to return the desired amount, but you cannot return more than the purchased quantity.
Return List
Here, you can view the complete list of Purchase returns with a filtering option. To view an invoice, simply click on the invoice No.
Products
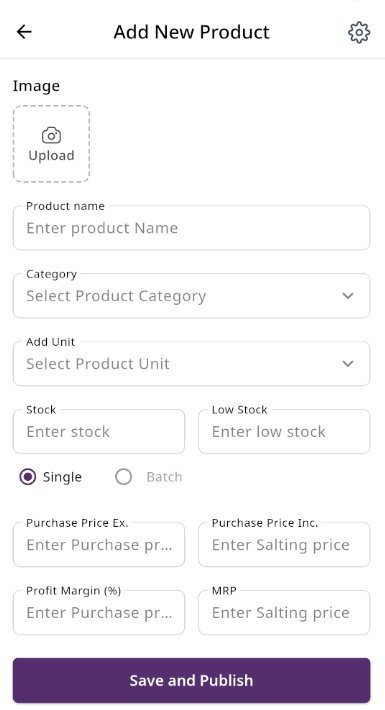
Create Product
You can create a product by filling in the required fields. When you select a Product Category, the associated variation fields (such as capacity, color, size, type, or weight) linked to that category will appear. You can then provide the necessary variations. The Product Code field will suggest a code by default, but you can update it if needed. Ensure you carefully input the product price. If everything is correct, click the save button to store the product.
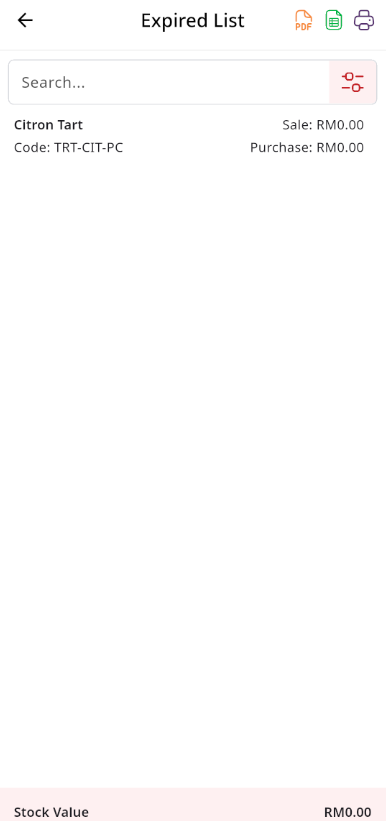
Expired Product List
Here, you can view the expire Product list with filtering options available. The list can be exported as Excel, CSV, and there is also a print option. By clicking the product, you can see details in a drop-down view.
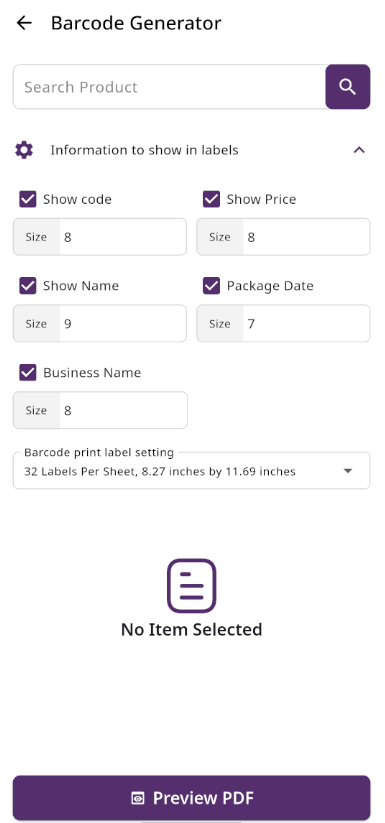
Print Labels
The Barcode Label Module in SenangUrus DNA allows users to generate and print barcode labels for selected products. Users can choose which information appears on the labels, including business name, product name, price, product code, packing date, and barcode. Each label uses the size defined for the product, and paper settings can be adjusted to ensure proper printing.
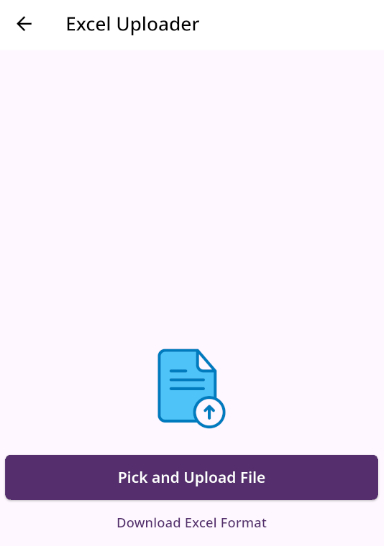
Bulk Uploads
From the Bulk Upload module, users can upload a list of products in bulk. You can download a Excel file format by clicking the download file button. This file contains all the columns that need to be filled, and columns marked with an asterisk (*) indicate mandatory fields. After completing the file, use the Upload File option to select your edited file for bulk upload, then click the Submit button. All roles, conditions, and instructions are illustrated in the image below for better understanding.
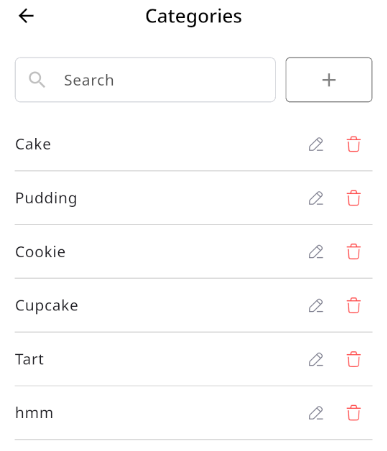
Category List
You can view the Category list with available filtering options. Furthermore, you have the ability to edit or delete.
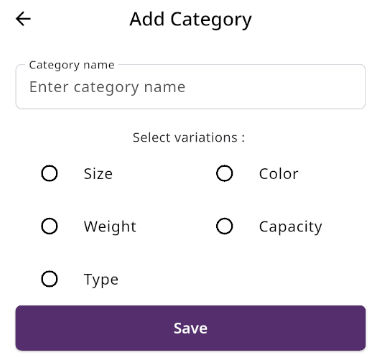
Create Category
You can create a Category by filling in the required fields and selecting the desired variation.
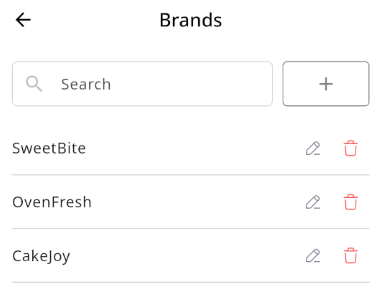
Brand List
You can view the Brand list with available filtering options. Furthermore, you have the ability to edit or delete.
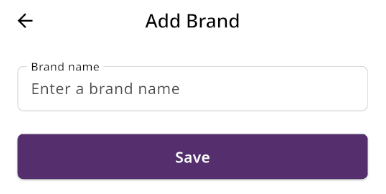
Create Brand
You can create a Brand by filling in the required fields.
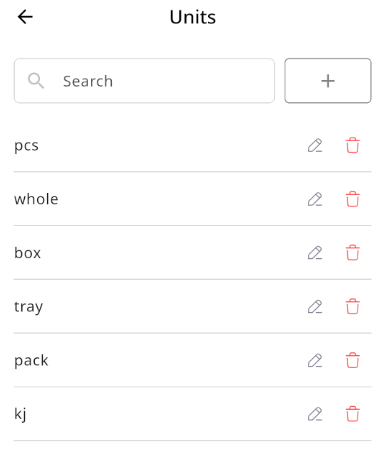
Unit List
You can view the Unit list with available filtering options. Furthermore, you have the ability to edit or delete.
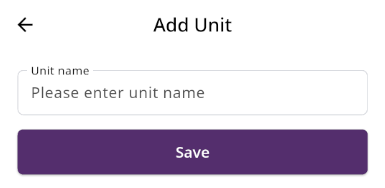
Create Unit
You can create a Category by filling in the required fields.
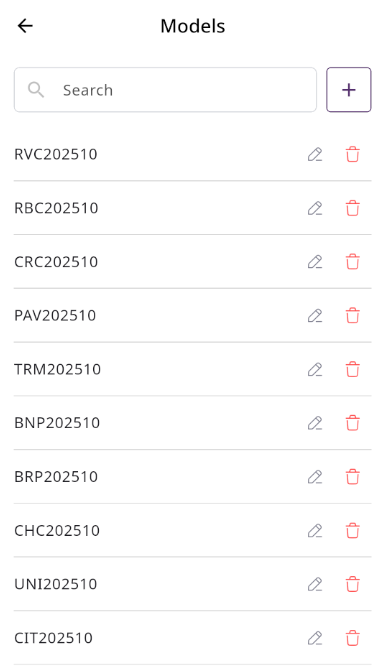
Model List
You can view the model list with available filtering options. Furthermore, you have the ability to edit or delete.
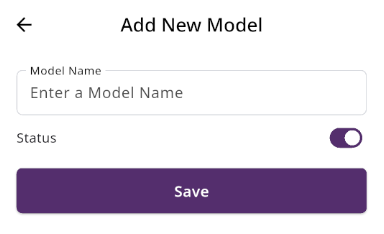
Create Model
You can create a model by filling in the required fields.
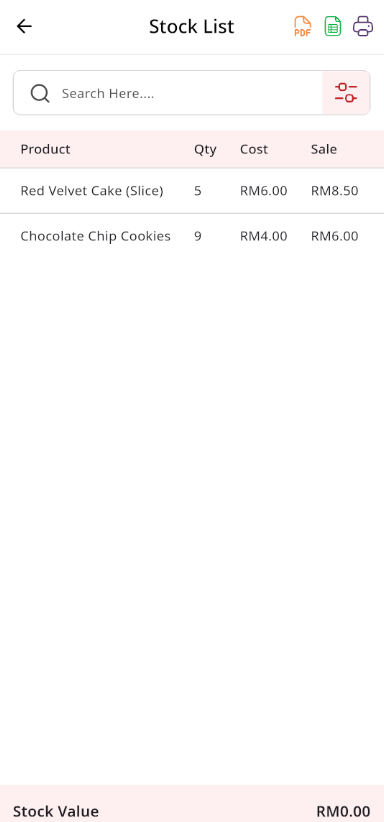
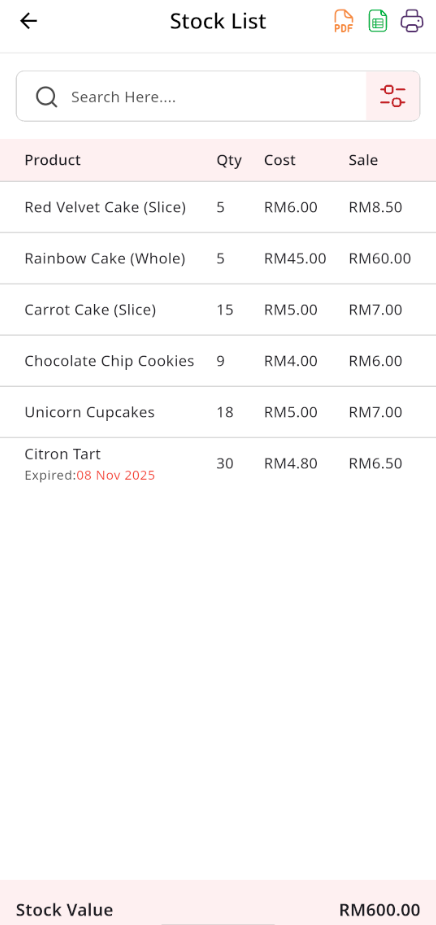
Stock List
In this section, you can view the product list with available filtering options. The list can be exported as Excel or CSV, and there is also a print option. At the bottom, you can see the stock value. You can also view low stock and expired products from the same dropdown, and their respective lists will be displayed.

Low Stock List
This section displays a list of products that are low in stock. You can use the available filtering options to refine the list. The data can be exported as Excel or CSV, and a print option is also available. At the bottom, the stock value is displayed for quick reference.
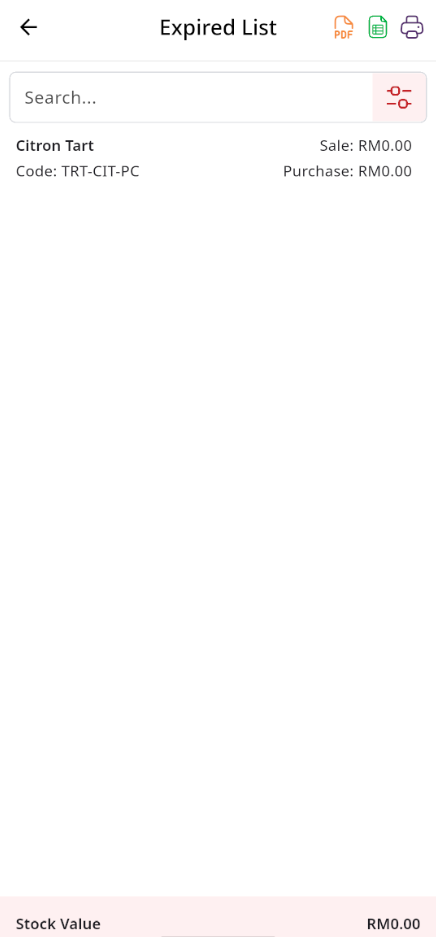
Expired Product List
This section displays a list of expired products. You can use the available filtering options to refine the list. The data can be exported as Excel or CSV, and a print option is also available for convenience.

Customer
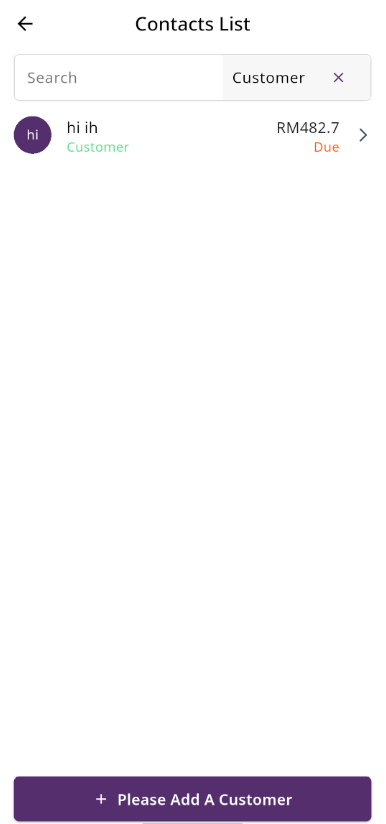
Customer List
Here, you can view the customer list with a search filter. Additionally, you have the option to view, edit or delete.
Create Customer
You can create a customer by filling out the required fields. Additionally, you can add an initial due amount to be stored.

Supplier
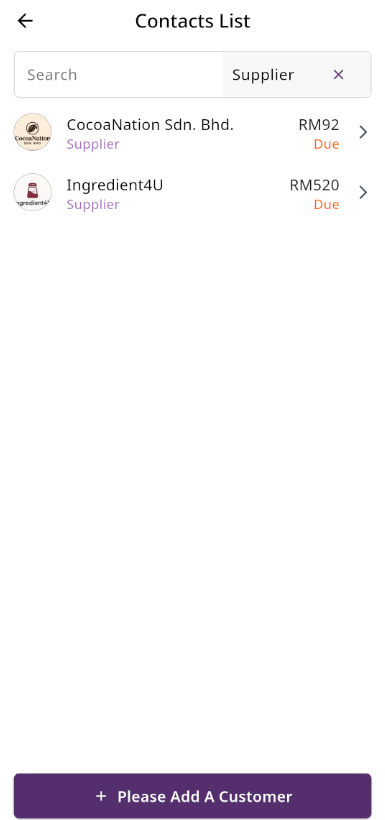
Supplier List
Here in contact list by picking supplier in filter, you can view the Supplier list with a search function. Additionally, you have the option to view, edit or delete.
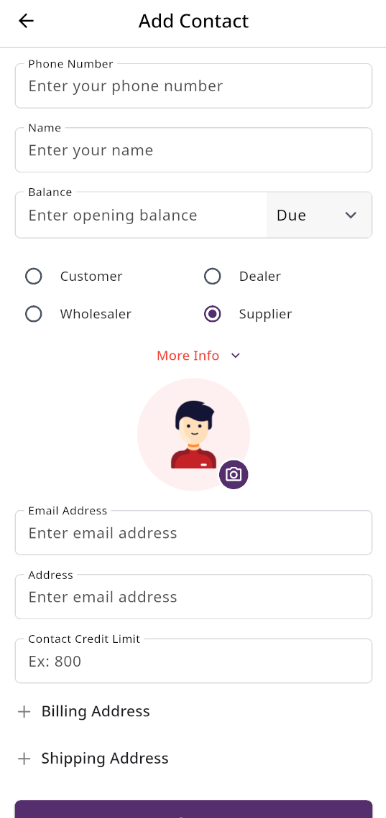
Create Supplier
You can create a Supplier by filling out the required fields. Additionally, you can add an initial due amount to be stored.
Incomes
Income List
Here, you can view the Income list with a search filter. Additionally, you have the option to edit or delete.
Create Income
You can create an income by filling out the required fields. Here You can also select category and payment type.

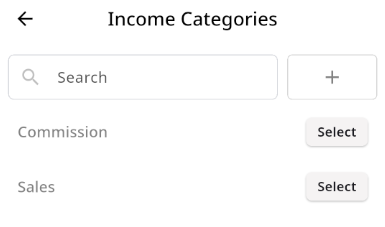
Income Category
Here, you can view the Income Category with a search filter. Additionally, you have the option to edit or delete. Just put category name and description for create Income Category

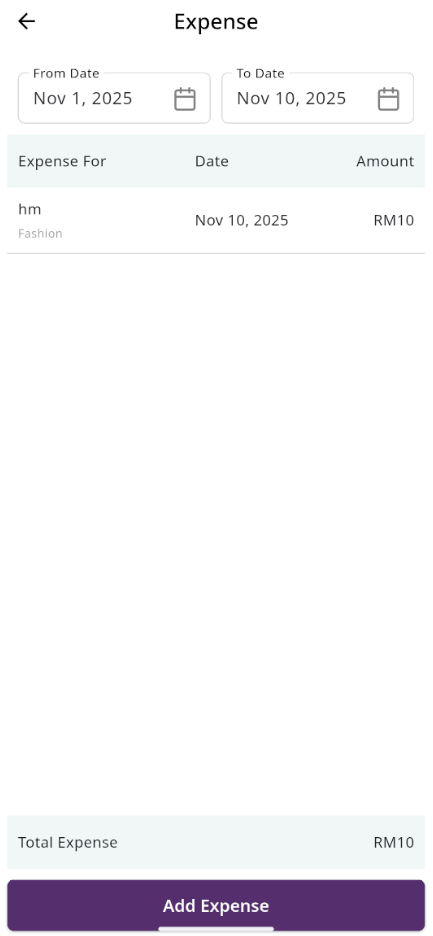
Expenses
Create Expense
You can create an expense by filling out the required fields. Here You can also select category and payment type.

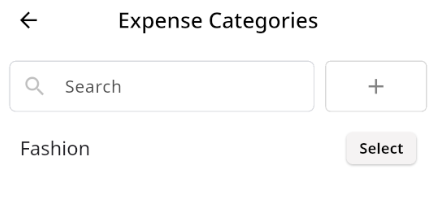
Expense Category
Here, you can view the Expense Category with a search filter. Additionally, you have the option to edit or delete. Just put category name and description for create Expense Category

Tax Setting
Here, you can view VAT settings and VAT groups. Two tables are available: one for the list of VAT rates and another for the list of VAT groups. You can apply filtering separately in both tables.
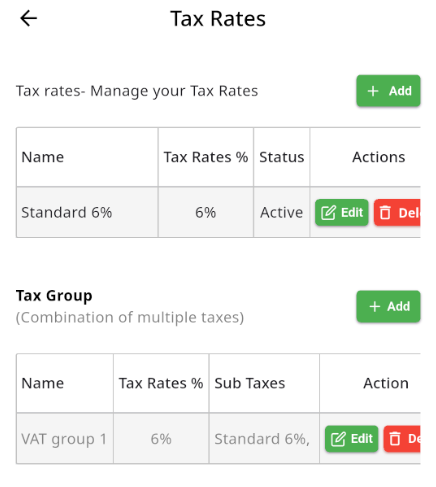
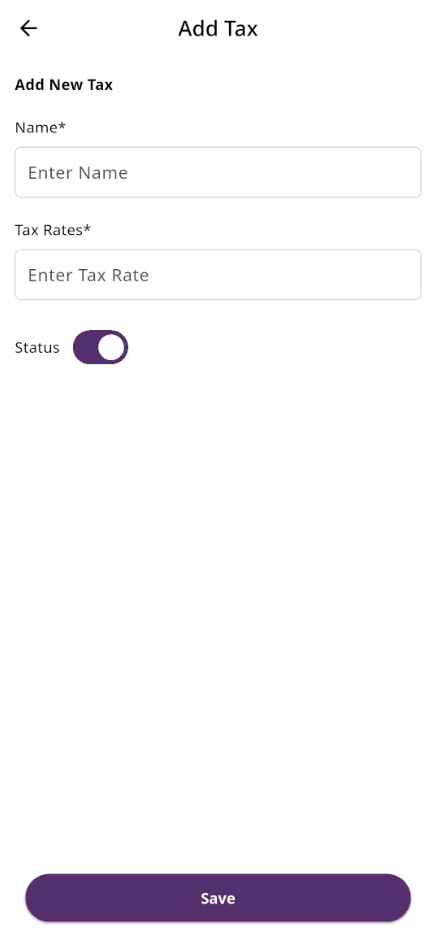
Create Vat
By clicking the + Add button, a modal will appear. Fill in the required input fields and then click the Save button to add a new VAT entry.
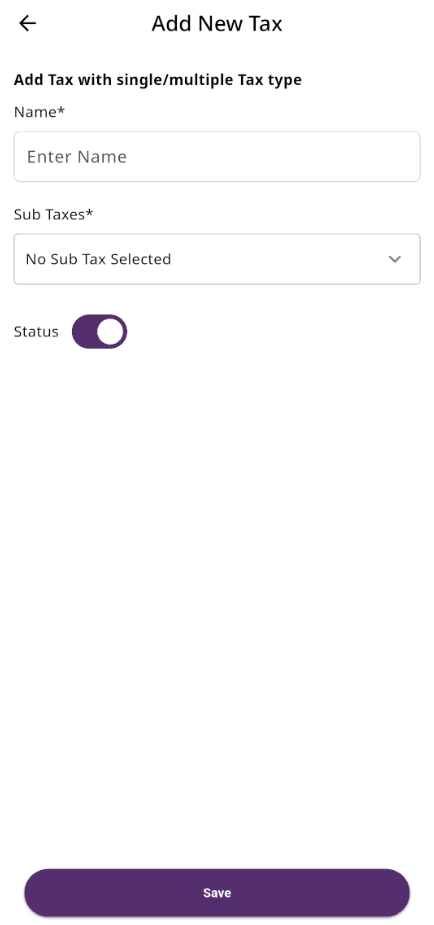
Create Vat Group
By clicking the + Add button, you will be redirected to the VAT Group creation page. Fill in the required input fields and then click the Save button to add a new VAT group.
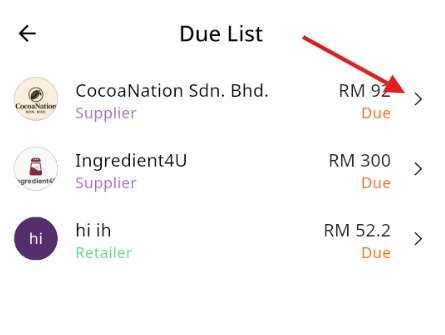
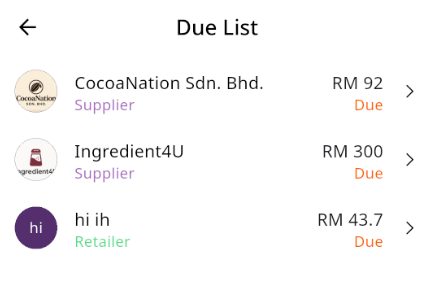
Due List
Here, you can view the Due list. Additionally, you can collect the due amounts from this page.
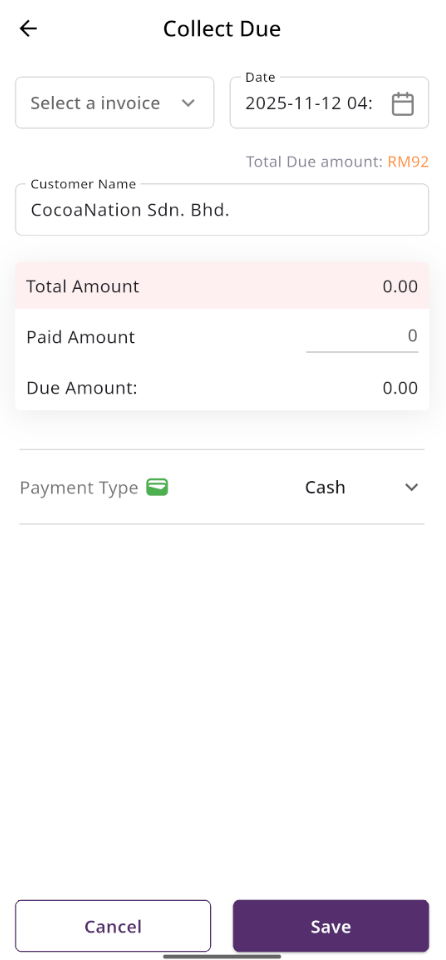
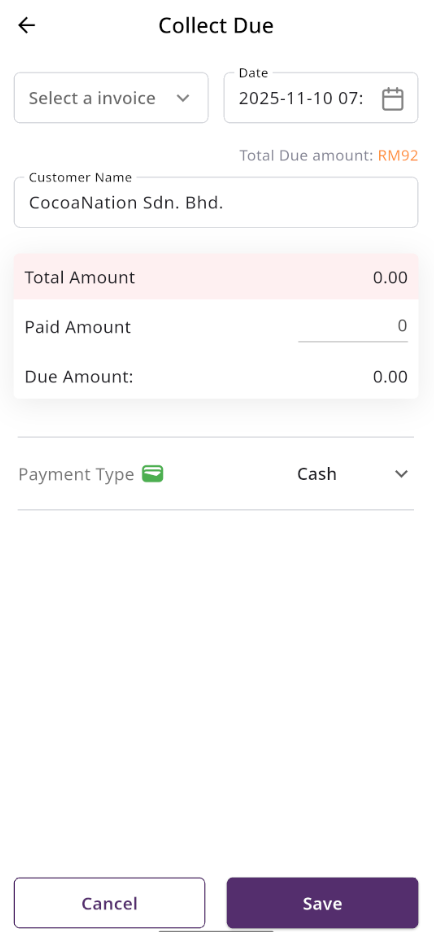
Collect Due
When you click on a user this page will appear. Here, you can collect the due amount either by invoice or without an invoice if there is any initial due.
Subscriptions
Here, you can view your current plan status along with all other available plans. You can also upgrade your plan from this page.
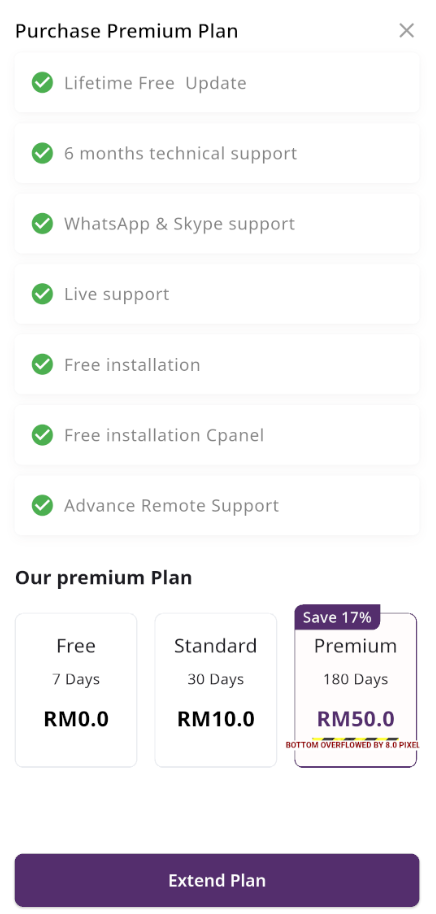
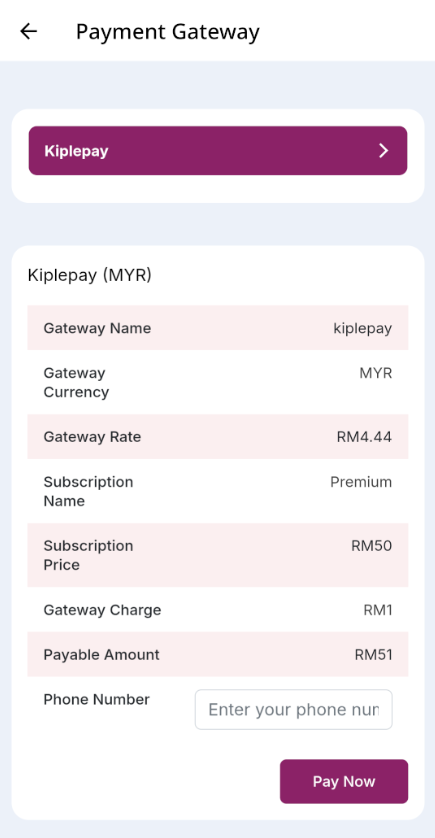
Payment
After choosing your desired plan, just click to view the available payment options. Once you complete your payment, you can upgrade your plan.
Profit and Loss List
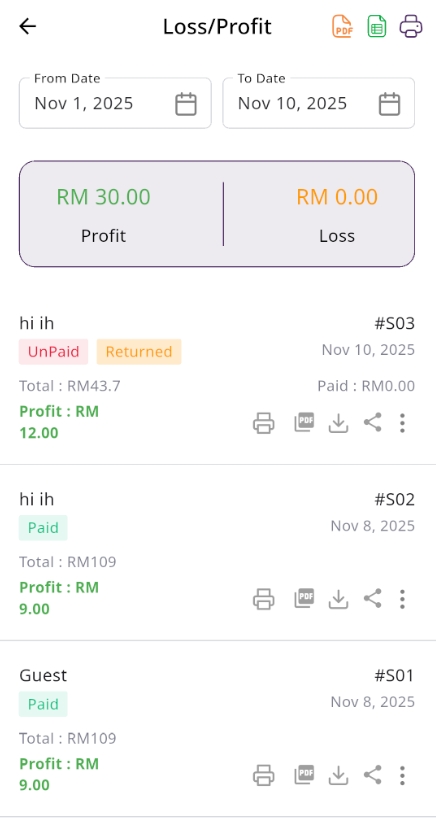
Loss Profit List
Here, you can view the profit and loss data from sales with search and date filters. You can also export the list as CSV, Excel, and print it. Additionally, the total loss and profit are displayed in the top cart.

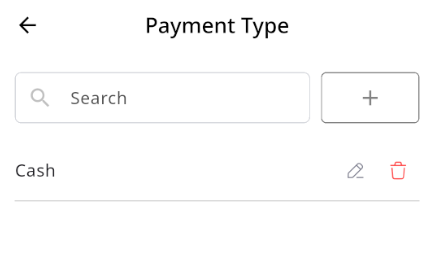
Payment Type
Payment type List
Here, you can view the list of payment types. The list can be filtered using the search input or the per-page filter. You can also update the status (active or inactive) by toggling the switch in editing. Additionally, edit or delete.

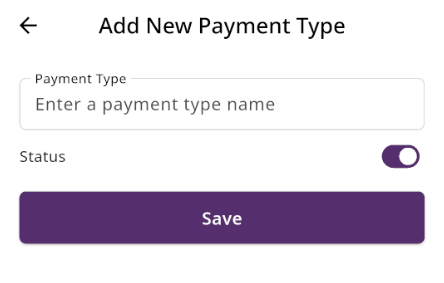
Create Payment type
You can create an payment type by filling out the required fields.

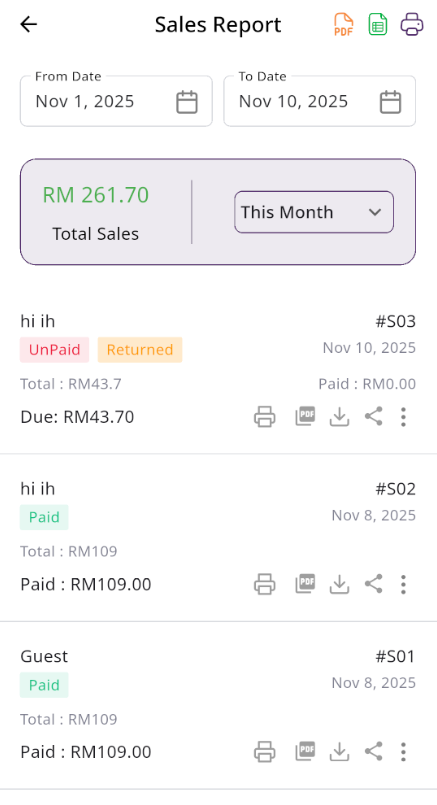
Reports
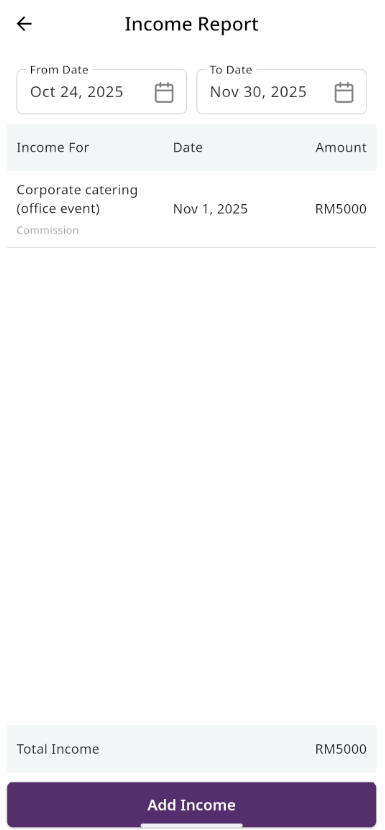
Here, various reports are available, including Sale, Sale Return, Purchase, Purchase Return, Income, Expense, Current Stock, Due List, Profit and Loss, and Due report. Each report includes filtering options for data. Additionally, you can export data as CSV, Excel, and a Print option is also provided.
Sale Report
Sale Return Report
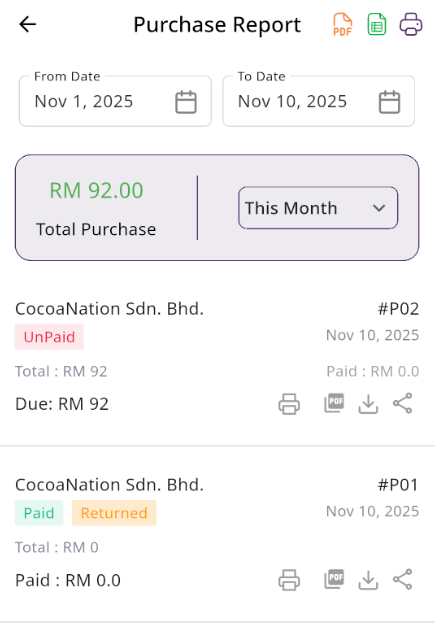
Purchase Report
Purchase Return Report

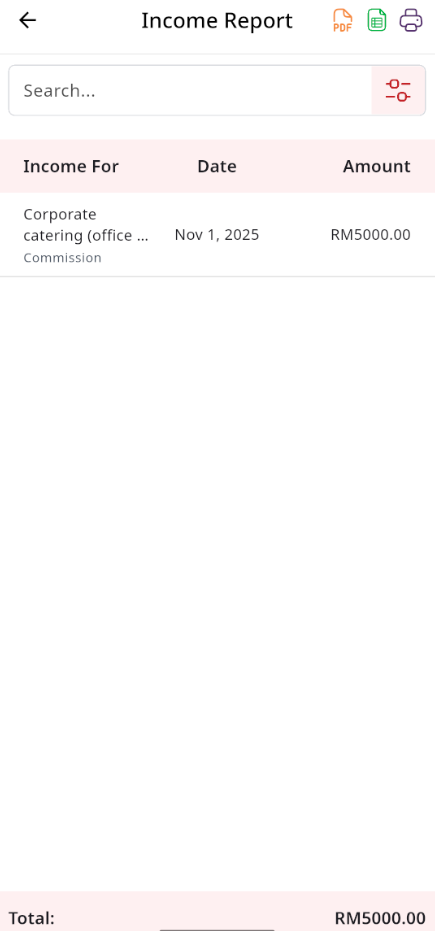
Income Report
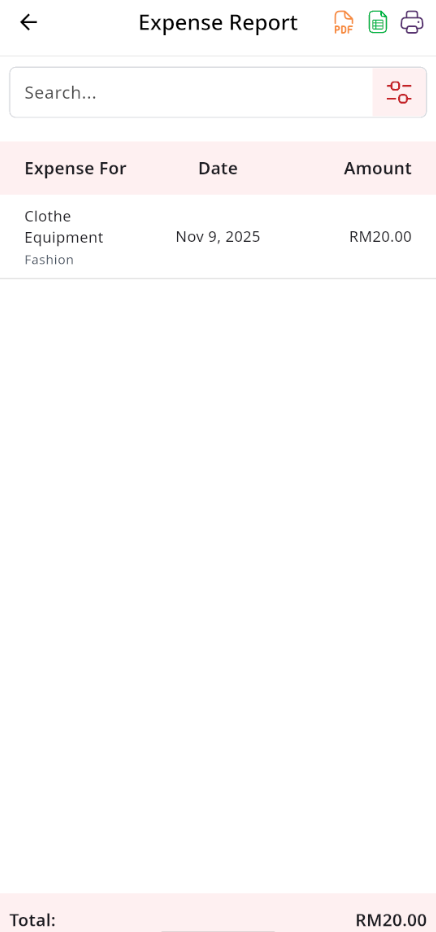
Expense Report
Stock Report
Due list

Loss & Profit Report
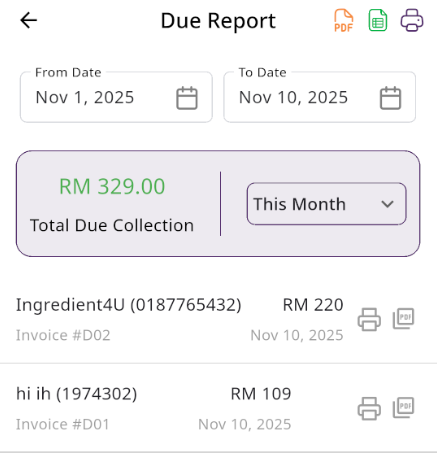
Due Report
Expired Product Report
Settings
In the Setting section, you have the capability to configure the fundamental aspects or core elements of this project.
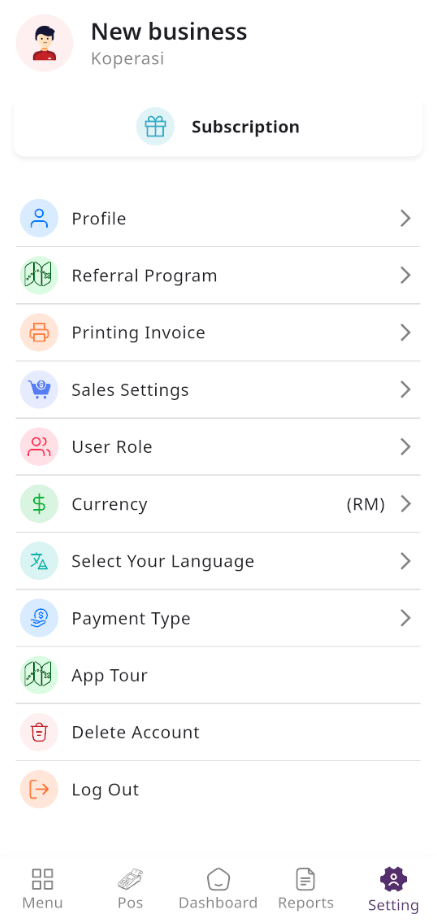
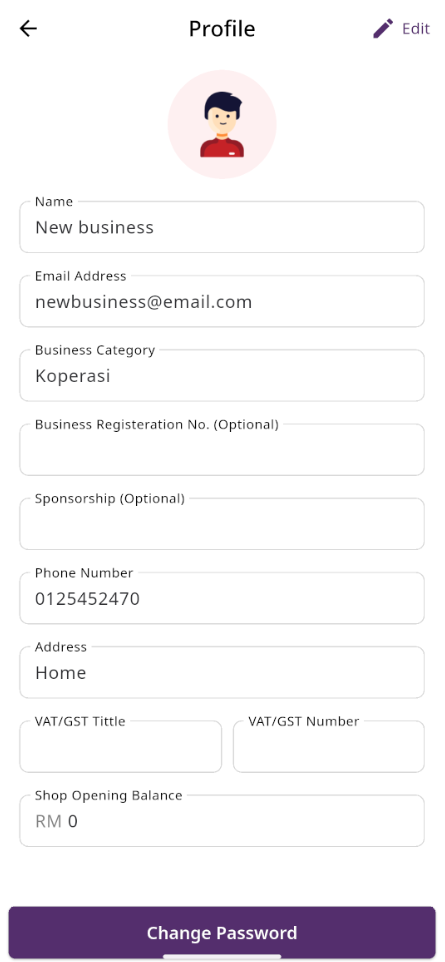
Profile
Here, you can view your business profile. You can change your name, email address, Business Category, Business Registration No. (Optional) and etc.
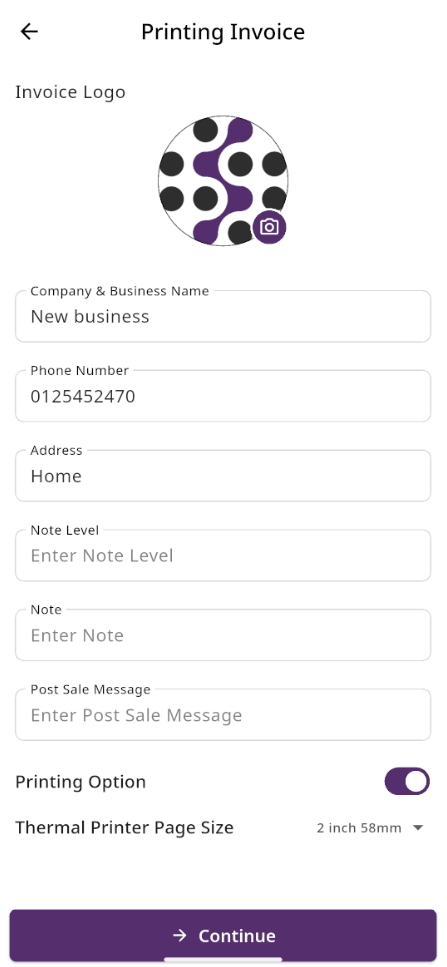
Printing Invoice
Here, you can configure your invoice printing settings before generating receipts. You may upload your invoice logo, enter your company name, phone number, and address, and add optional details such as notes, note level, and post-sale messages that will appear on the printed invoice.
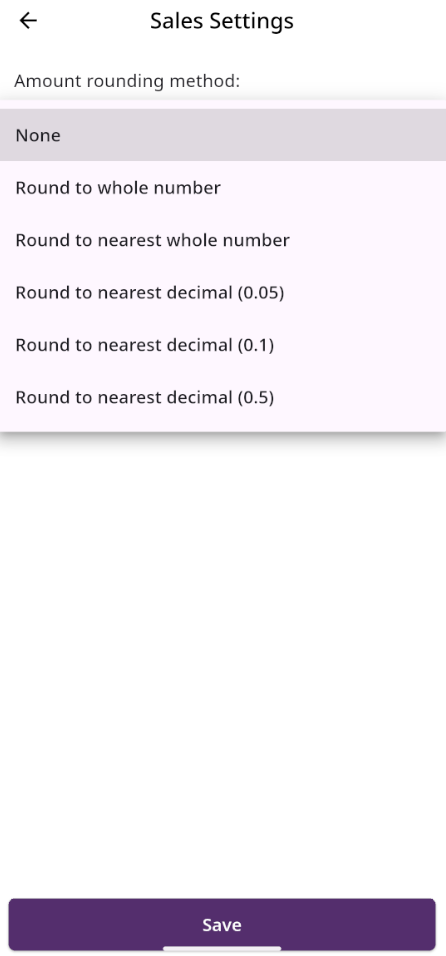
Sales Settings
Here sales setting. You can select your preferred rounding amount method, but by default, the system set it as none.
Currencies
Here, you can view a list of currencies added through the Admin Panel. You can select your preferred default currency, but by default, the system uses the currency set in the Admin Panel.

User Role
In this section, you can create new roles, update existing ones, and delete them. While updating roles, you can configure specific permissions to grant or restrict access to various features and functionalities. This enables you to customize user roles according to your organizational needs and security requirements.
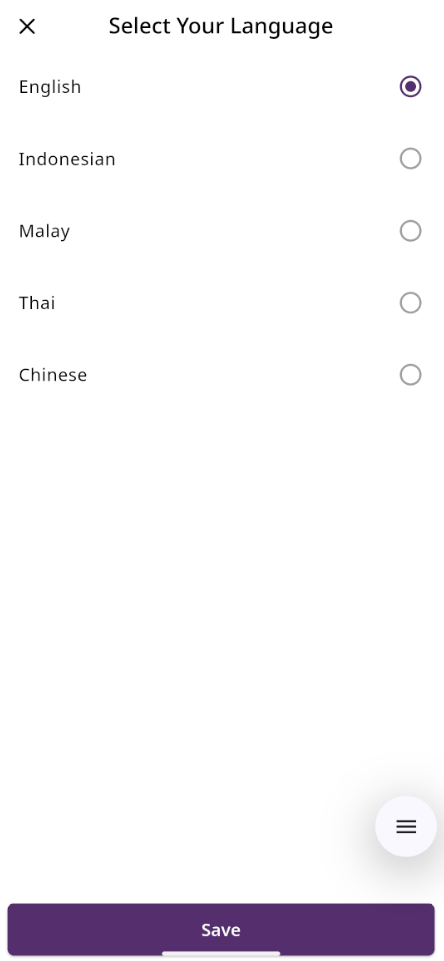
Languages
Here, you can view a list of languages available in the app. You can select your preferred default language, but by default, the system uses English.
Payment Type
Here, you can view the list of payment types. The list can be filtered using the search input or the per-page filter. You can also update the status (active or inactive) by toggling the switch in editing. Additionally, edit or delete.

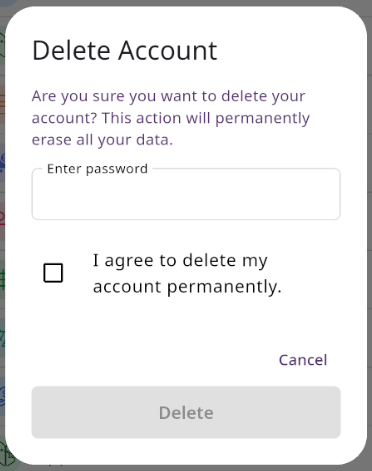
Delete Account
Here, you can delete your current account your logged in. You need to enter in your password and tick the the box stating you understand the risk.
Multi-Branch Add-on
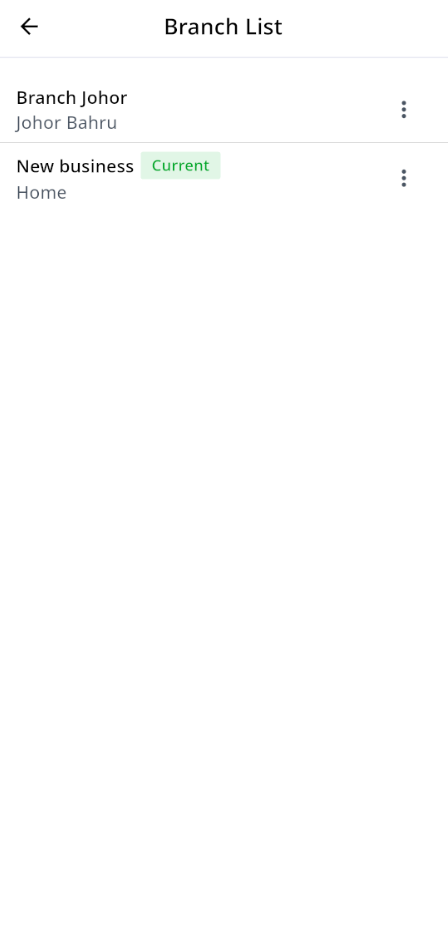
Branch List
This is the branch list, it shows all the available branches. If you are logged in to a branch, a green card with the word Current will be displayed beside it.
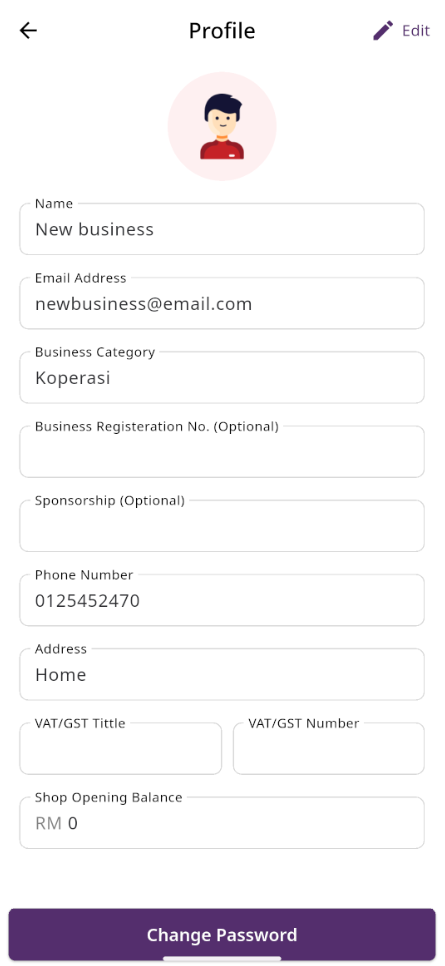
Profile
Here, you can view your business profile. You can change your name, email address, Business Category, Business Registration No. (Optional) and etc.
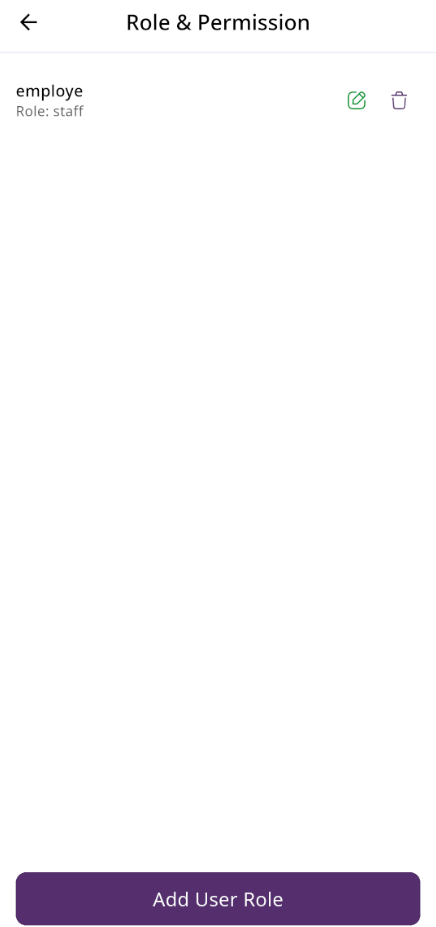
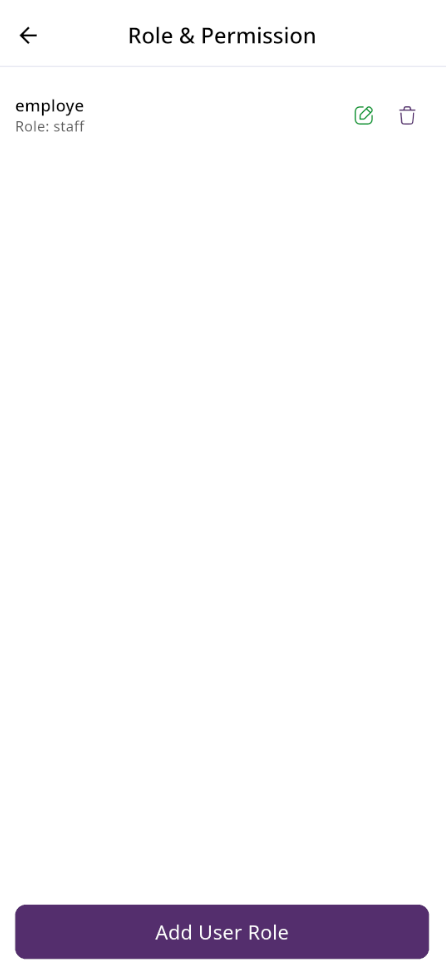
Role & Permission List
Here, you can view a list of roles and permissions. The list displays name along with the number of features accessible to users. From here, you can also add a new user role, edit an existing role, or delete one.
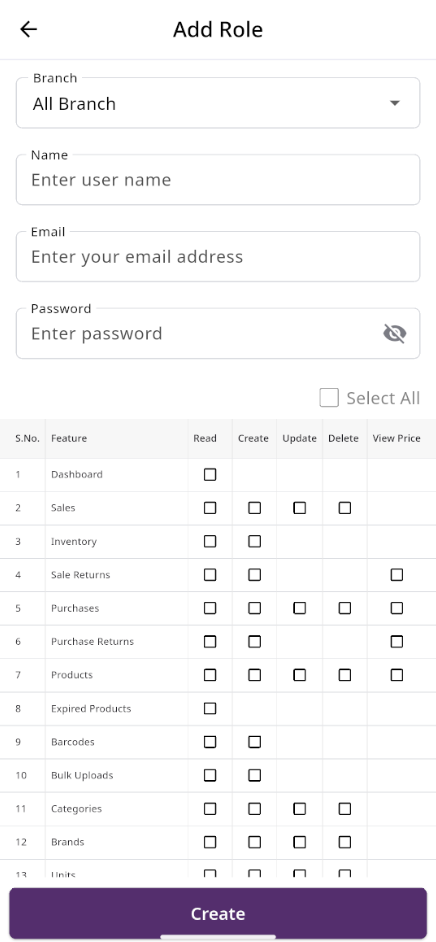
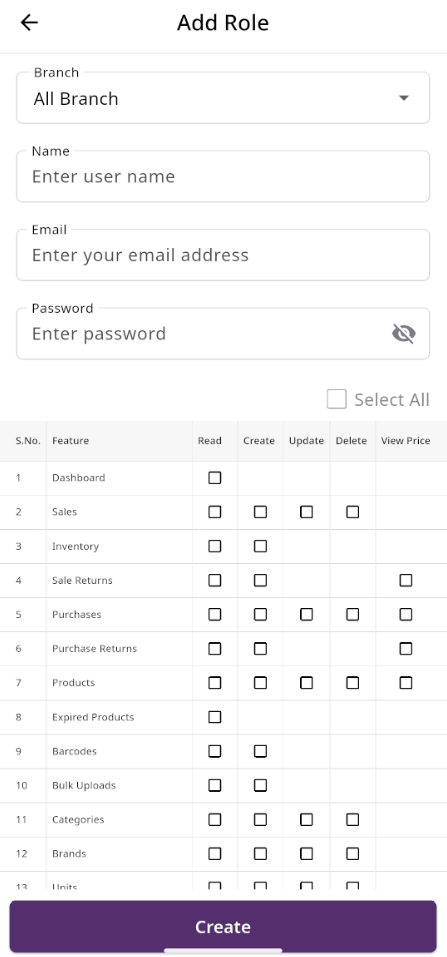
Add Role
After clicking on "Add User Role," you will be redirected to the create page, where you need to fill in the required information. Once completed, click the "Create" button. The new user role will be created successfully, and you will be redirected back to the user role list. If you are not under any branch, a new field will appear where you can select the branch for which you want to assign the role and permissions.
Due Collect
Collect Due
In the Due List section, when you click on a user you will be taken to the page below. If you are logged in under an active branch, you can only collect dues from the selected invoices. The invoices will be filtered according to your branch, and the balance will be updated from the branch to which the invoice belongs. If you are not under any branch, you can collect dues without selecting invoices. In this case, the due will be adjusted from the shop's overall balance. If you collect dues along with invoices, the balance of the branch to which each invoice belongs will be updated accordingly.